Picture this… You’re at your outdoor portrait session, camera in hand. The light looks perfect – or so you think. But when you get home and load those images onto your computer… sinks into chair
Uneven shadows across faces. Harsh patches of sunlight creating unflattering highlights. And that dreaded green cast from nearby trees that’s making your client look like they’re about to be sick.
We’ve ALL been there.
For years, I believed I could fix any lighting issue in post-production. I’d spend HOURS trying to balance shadows, reduce highlights, and correct colour casts. One particular outdoor portrait session had me attempting to fix dappled light across my client’s face until 2 am. (Not my finest moment.)
Here’s the truth about outdoor portrait lighting that took me 10 years to fully understand: prevention isn’t just better than cure – it’s EVERYTHING.
Working with natural light outdoors is like trying to tame a wild horse. Just when you think you’ve got it under control, it changes direction. But after photographing hundreds of clients in every lighting condition imaginable (including that time when a surprise coastal storm had me juggling reflectors in 40mph winds), I’ve developed a system that works. I share more insights on outdoor personal portraits here.
In this guide, I’m sharing everything I’ve learned about mastering outdoor portrait lighting. No more crossing your fingers and hoping for the best. No more marathon editing sessions. Just practical, proven techniques that will transform your outdoor portraits.
Because your time is better spent capturing genuine smiles than fixing lighting problems in Photoshop.
The Myth of Correcting Uneven Lighting in Post-Production
Let me share something that changed EVERYTHING about how I approach outdoor portrait lighting…
I remember sitting at my computer, staring at yet another set of portraits with patchy lighting. You know the kind – where the tree branches created a leopard-print effect across your client’s face. grimaces
“I’ll fix it in post,” I muttered to myself. (Sound familiar?)
Here’s the thing about portrait lighting – and I learned this the hard way shooting with Porta 400 film – you can’t fix what isn’t there in the first place. When you lose detail in those blown-out highlights or crushed shadows, no amount of Photoshop wizardry will bring it back. You can see a discussion I had on this very subject in the phtoography forum ‘Talk Photography’.
I discovered this truth when I started learning from the curve master himself, Greg Groess (creator of Curvemeister). Even with all his expertise in colour correction, he emphasized one crucial point: “Get it right in camera.”
Want to know my success rate for ‘fixing’ portraits with seriously uneven lighting in post-production?
10%.
Yes, really. Just 10%.
And those ‘fixed’ images? They never quite looked… natural. There was always something slightly off. Like when you know someone’s wearing a wig but can’t quite put your finger on why it looks wrong.
The reality is, managing outdoor portrait lighting isn’t about having the most expensive gear or the latest editing software. It’s about understanding how to work with light BEFORE you press the shutter. It’s how I capture you at your best and nail outdoor portaits every time.
Think of it like baking a cake. You can’t fix a cake that’s burned on one side by frosting it more heavily – you need to get the oven temperature right from the start.
This might sound discouraging, but stay with me… because once you understand this fundamental truth about outdoor portrait lighting, everything becomes clearer. Literally.
Are you ready to take your photography to the next level? Whether you’re a beginner or an experienced shooter, our Photography Training on the Isle of Wight offers something for everyone.
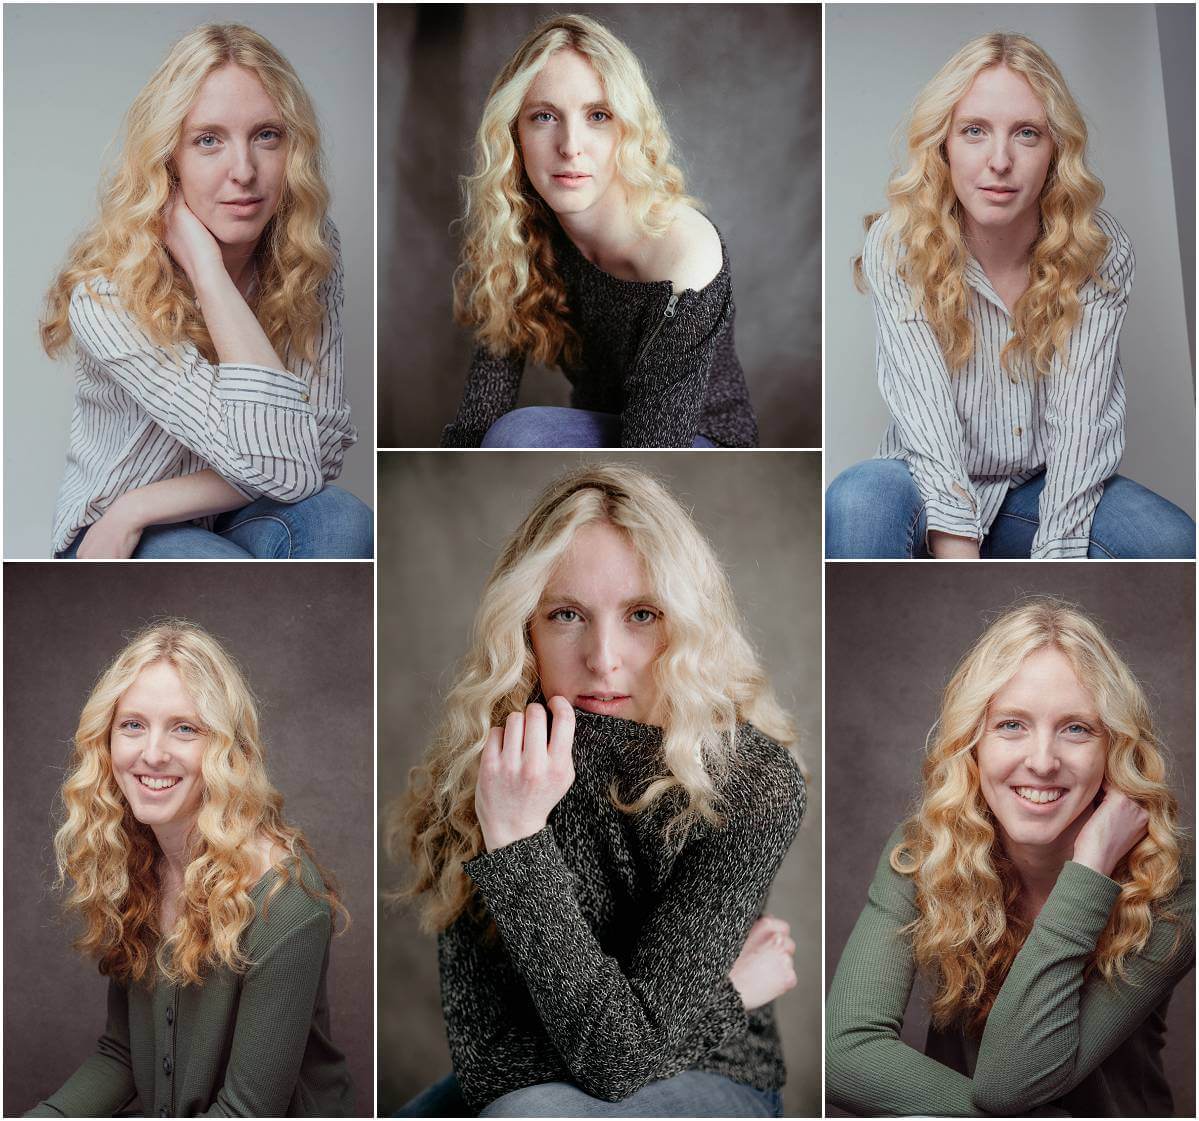
Pre-Shoot Preparation and Light Testing
Want to know the BIGGEST difference between good and great portrait photography?
It’s not the camera. Not the lens. Not even your editing skills.
It’s lighting. 100%.
leans in close Here’s what I wish someone had told me years ago…
The perfect portrait is like a three-layer cake: 100% connection with your subject, 100% lighting, and just a magic sprinkling of editing. But most photographers are looking at the icing when they should be checking the oven temperature.
Let me share something I learned the hard way…
I used to shoot regularly at this gorgeous location with the perfect tree for shade. Then one day, I arrived for a client session to find the tree had been removed. panic mode activated Suddenly, my go-to spot was about as useful as a chocolate teapot.
That day taught me the importance of light testing EVERY. SINGLE. TIME.
Here’s what I’ve learned about pre-shoot preparation:
- Download a light meter app on your phone. Yes, really. It’s like having a lighting assistant in your pocket.
- Visit your location at the same time as your planned shoot. Light is sneaky – it changes dramatically throughout the day.
- Look out for these red flags:
- Trees creating dappled light (unless you fancy spending hours editing leopard-print shadows off faces)
- Bright hot spots that’ll have your clients squinting like they’re trying to read fine print in the dark
- Nearby greenery that’ll make your subjects look like they’ve eaten something dodgy
You might be thinking, “But Mandy, this seems like a lot of work…”
True. But here’s the thing – I spent an entire year focusing just on understanding light. One whole year! Because that’s how important it is. (Ask me about that photography course in Hong Kong where everything finally clicked… actually, maybe another time 😅)
Check out my blog post on how to set up perfect lighting without a complicated studio setup. It highlights the importance of lighting in headshot photography.
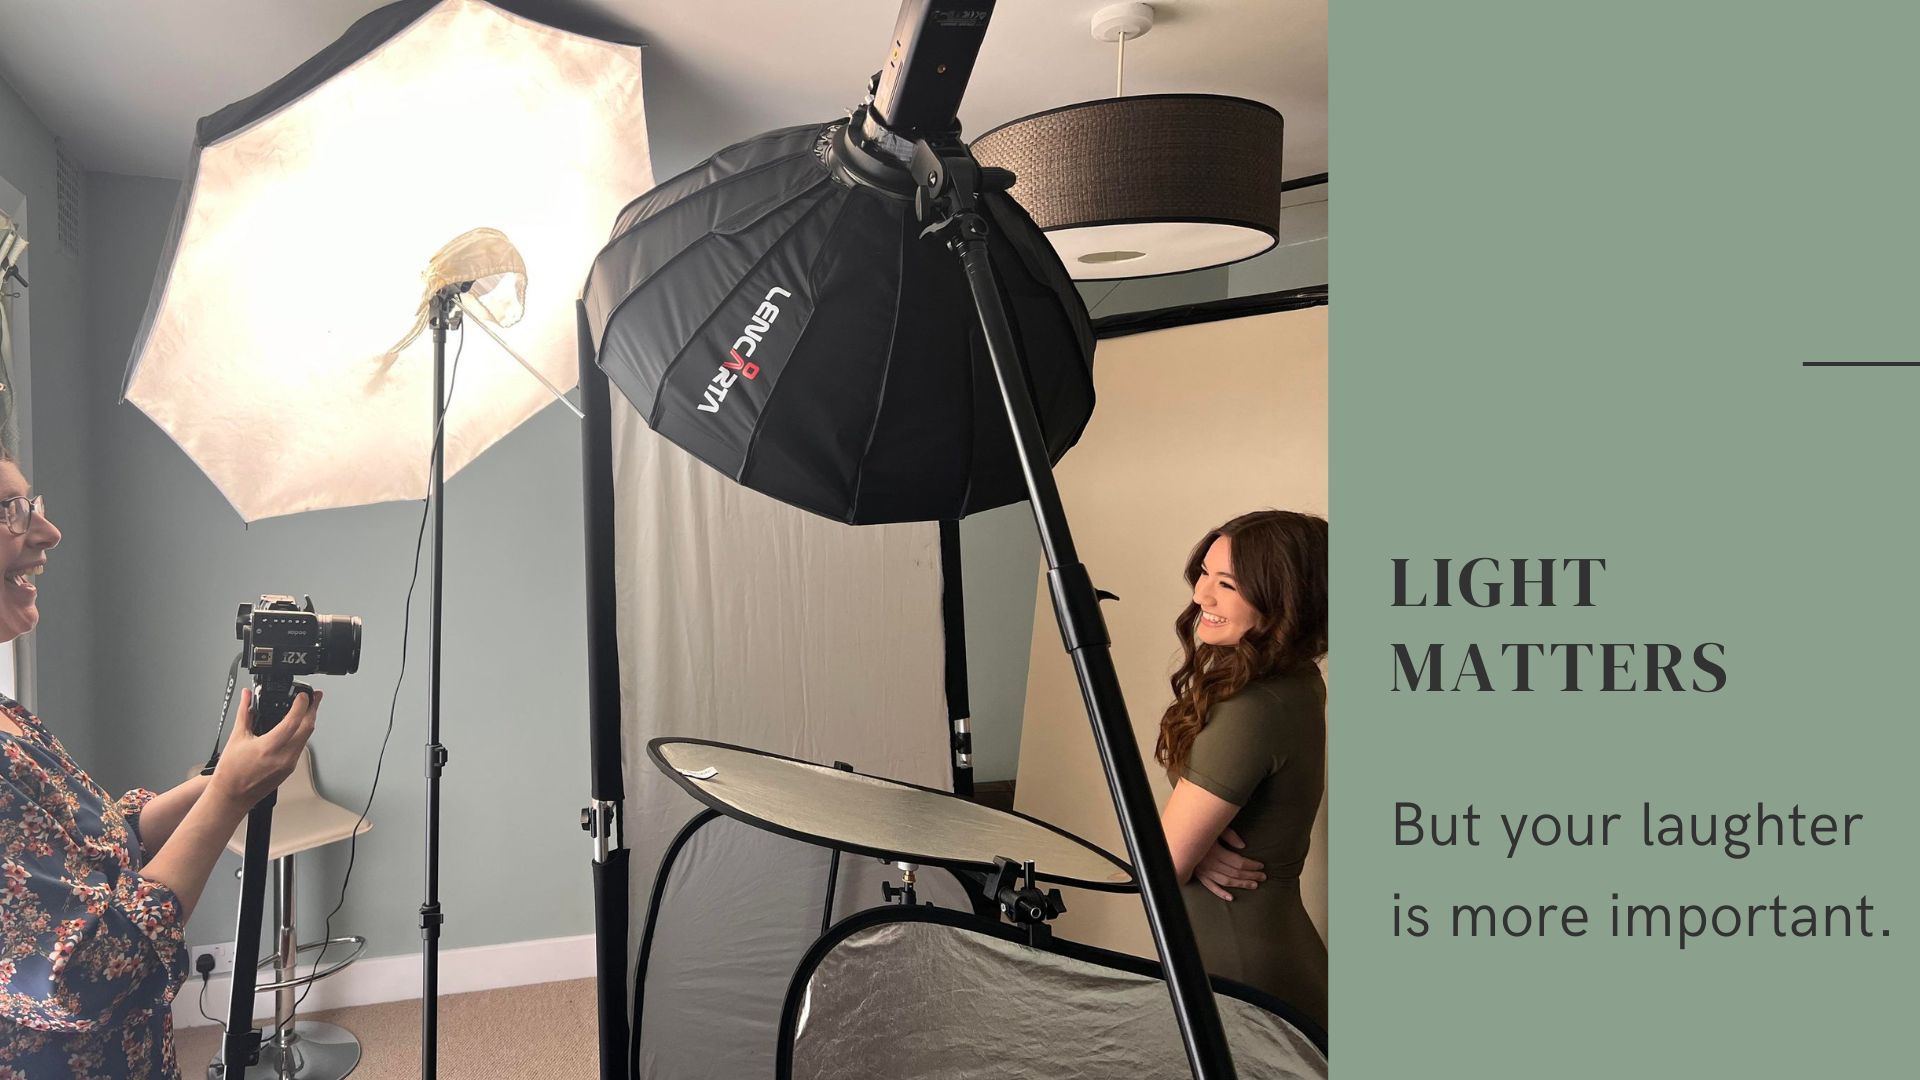
Essential Equipment for Managing Outdoor Portrait Lighting
Let me tell you about my favourite piece of kit…
It’s not my fancy camera. Not my collection of lenses. It’s my white umbrella.
whispers Though it does have a habit of trying to escape during Isle of Wight coastal shoots. Nothing quite like chasing your lighting equipment down the beach while your client watches, trying not to laugh!
But here’s the industry-standard truth I’ve learned after years of outdoor portrait sessions:
- ALWAYS pack a reflector (even if you think you won’t need it)
- ALWAYS bring one strobe (even if it stays in your bag)
- ALWAYS use an easy-to-carry bag (your back will thank me later)
Now, you might be wondering why I’m so passionate about that white umbrella. Here’s the thing – it’s like having three tools in one. You can use it as a scrim to soften harsh sunlight, as a modifier to shape available light, or… as an actual umbrella when the British weather decides to surprise you (which it will).
But let me be clear about something…
While many photographers pack enough gear to stock a small camera shop, what REALLY matters is capturing those genuine expressions, those light-in-the-eyes moments that make your clients say “That’s exactly how I wanted to look!”
It’s not about having ALL the tools. It’s about knowing exactly how to use the right ones at the right time.
Think of it this way: A chef doesn’t need every knife in the block to create a masterpiece. They just need to know which knife to use when.

Flash Photography and Colour Cast Magic
leans forward with tea cup
Let me tell you something that completely changed my outdoor portrait lighting game…
The day I started routinely using a flash gun, my editing time dropped by 80%.
No, really. EIGHTY PERCENT.
whispers Want to know the best bit? My clients started glowing. Not literally (though wouldn’t that be something?) but their skin tones… oh my goodness.
You see, flash isn’t just about adding light – it’s about controlling those pesky colour casts that plague outdoor portraits. You know the ones… when your client looks slightly green because they’re standing near trees, or when they’ve got that weird yellow tinge from reflecting off nearby buildings.
I remember this one session… (settles in to share a story)
A client invited me to their home for their portrait session. The natural light was bouncing off their wooden floor panels, giving everything this rather interesting yellow glow. (And by interesting, I mean my client looked like they’d had a fake tan mishap.)
But here’s where it gets good…
Instead of spending hours in post-production trying to fix the colour cast, I simply showed them how to stand in front of their bed, using the white sheets as a natural reflector. Add a touch of flash… and voilà! Perfect skin tones.
If you’re thinking “But Mandy, flash is scary!” – I get it. I used to feel the same way. Then I discovered what I now call my lighting bible – the Strobe Book Guide. (Though between you and me, I still sometimes pretend I’m a lighting wizard when I get it just right.)
Want to know more about mastering flash for outdoor portraits? I might know someone who teaches this… 😉
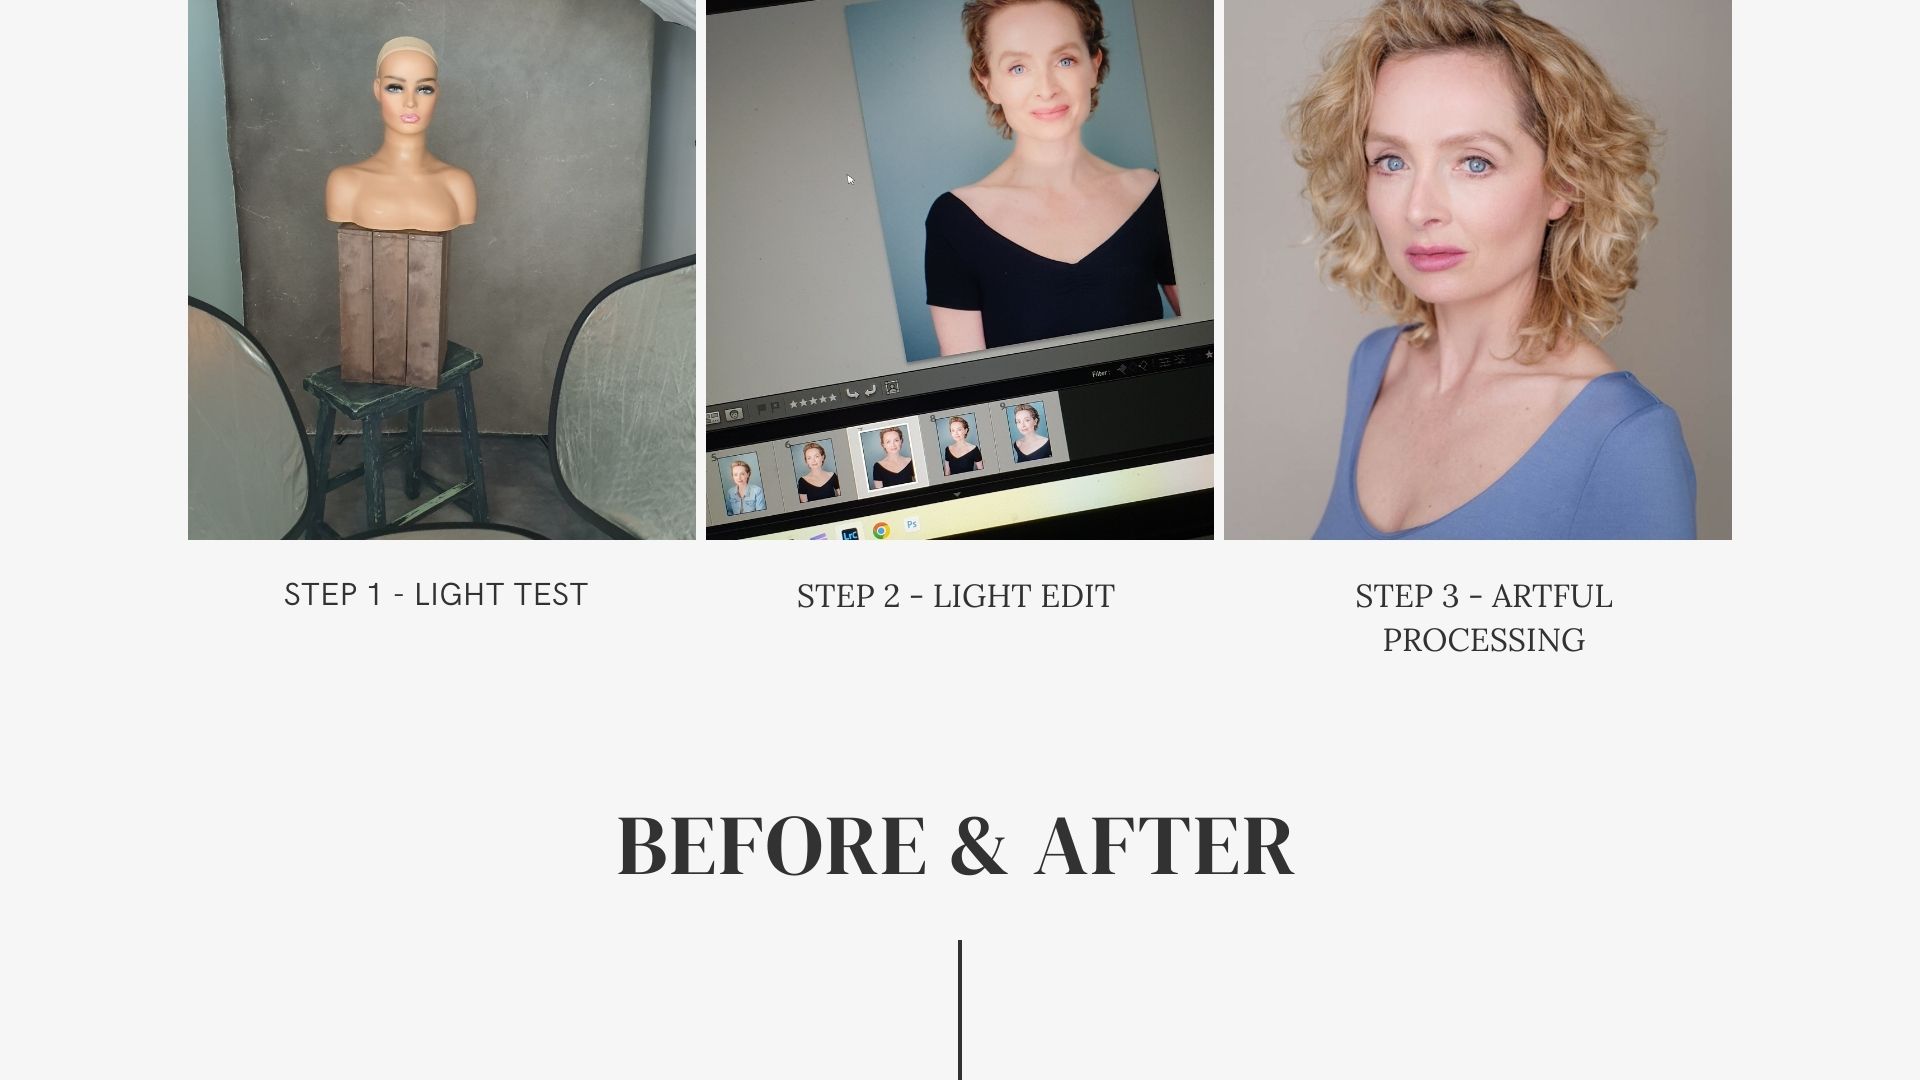
Understanding Colour Harmony and Grading
Let me share something about colour that took me years to understand…
You know how some portraits just look… right? While others feel slightly off, even though you can’t quite put your finger on why? It’s all about colour harmony.
Here’s a little secret… I always wear a light-coloured top to photo sessions. Not just because it looks professional, but because dark colours can reflect back onto my clients’ faces. (Learn from my ‘mysterious purple shadow’ incident of 2019…)
Let me show you my approach to colour grading…
I’m all about the subtle touches. Think Mary Berry’s perfect Victoria sponge rather than a three-tier wedding cake with sparklers. It’s about enhancing what’s already there, not completely transforming it.
Here’s my actual process (the one I use every single day):
- Take a white point from the white of the subject’s eye (game-changer!)
- Drop the red curve ever so slightly for a warm wash
- Add a touch of yellow to the shadows to remove that pesky blue colour cast
sips tea thoughtfully
You might be wondering why I’m so particular about this. Well, after studying ProEDU’s tutorials on colour grading (and spending more hours than I care to admit practising), I’ve learned that the most natural-looking portraits often have the lightest touch when it comes to colour adjustment.
Think of it like seasoning your food – you can always add more, but once you’ve overdone it… well, we’ve all had that curry that was more fire than flavour, haven’t we?
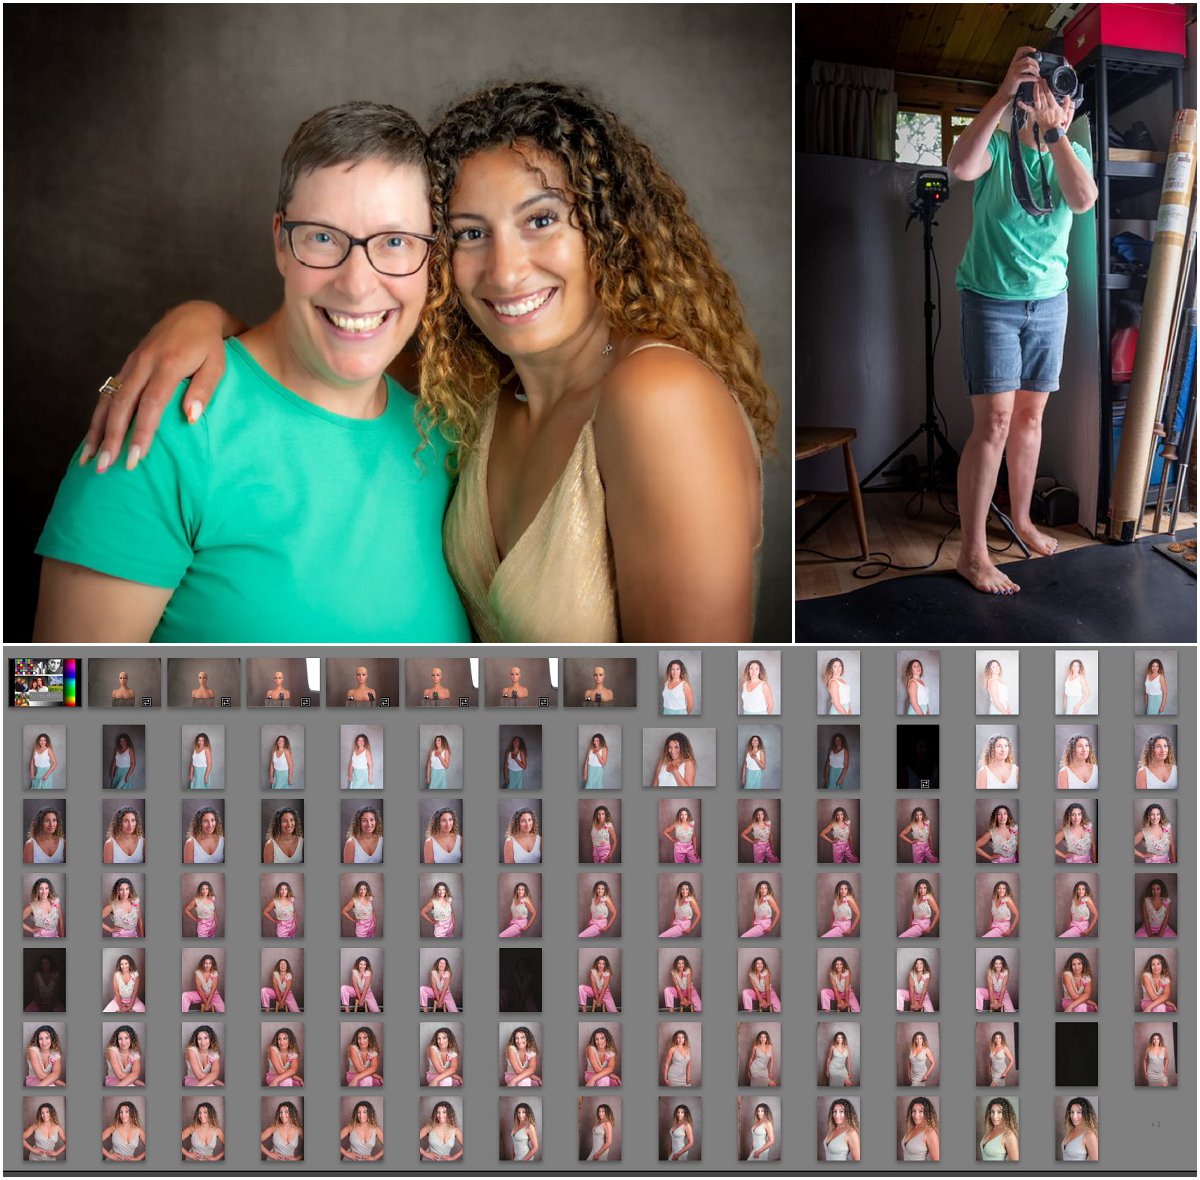
Real-Life Lighting Solutions
Let me share some stories from the photography trenches…
Remember that client I mentioned who had the yellow-tinged wooden floor panels? Well, that session taught me something crucial about outdoor portrait lighting that I use ALL the time now.
Instead of fighting against challenging light, we can often use what’s already there – just differently. Those white bed sheets became the perfect reflector, creating the most beautiful, soft light. Sometimes the best solutions are right in front of us (or above us, in this case!)
Here’s another real example…
I was photographing a client under some trees (yes, I know what I said earlier about dappled light, but stick with me). The light was creating those dreaded patchy shadows across their face. Rather than moving to a completely different location, we simply adjusted their position by about 30 degrees, using the angle of the branches to our advantage.
The result? The shadows fell beautifully across their shoulders instead of their face, creating this gorgeous, dimensional light that looked intentional rather than problematic.
And here’s one more that might sound familiar…
A sunny day (rare enough in Britain!) was creating harsh shadows under my client’s eyes. Instead of reaching for my lighting gear, I asked them to face towards the blue sky, effectively turning it into one massive softbox. The green cast from the nearby foliage disappeared, and their skin tone looked absolutely gorgeous.
takes another sip of tea
The thing about outdoor portrait lighting is that sometimes the ‘problems’ can become solutions if we just look at them differently. Like when you’re baking and run out of eggs – sometimes the replacement ingredient makes the recipe even better!

A Decade of Learning About Light
After 10 years of portrait lighting experience, here’s what I know for certain…
Every challenging outdoor photography session has taught me something valuable. Like that time when harsh sunlight forced me to completely rethink my approach to natural light photography. Or when my light meter app saved a corporate headshot session on a particularly tricky overcast day.
Photography equipment comes and goes (RIP to all the reflectors the Isle of Wight winds claimed), but understanding light? That’s forever.
Here’s what I’ve learned about mastering outdoor portrait lighting:
- Sometimes the perfect shot requires nothing more than understanding how to position your subject
- White balance isn’t just a camera setting – it’s the key to natural-looking skin tones
- The best photography workshops teach you to see light, not just use gear
- Exposure settings are your friends (once you understand them!)
straightens up in chair
You know what’s fascinating? After all these years of scouting locations, testing light modifiers, and learning about studio lighting techniques, I’ve discovered that the most beautiful portraits often come from the simplest setups.
It’s not about having the fanciest soft light setup or the most expensive photography tips tucked in your back pocket. It’s about understanding how to work with whatever light you have, wherever you are.
Because at the end of the day, our job isn’t just about taking pictures – it’s about making people feel confident, comfortable, and seen.

Your Journey with Light Starts Here
Remember that 2 am editing session I mentioned earlier? The one where I was desperately trying to fix dappled light across my client’s face?
Well, these days my evenings look rather different. Usually wrapped up by 8 pm, cup of tea in hand, knowing my outdoor portrait lighting was spot-on during the shoot.
smiles at computer screen
The journey from “I’ll fix it in post” to “I got it right in camera” isn’t always easy. But like learning to ride a bike or mastering a perfect Victoria sponge, once you understand the fundamentals of outdoor portrait lighting, they stay with you forever.
Whether you’re wrestling with reflectors in coastal winds, hunting for the perfect natural light, or working out which photography gear actually matters (spoiler: probably less than you think), remember this:
Every photographer you admire once stood exactly where you are now. They just kept learning, kept testing, and kept growing.
So next time you’re facing challenging light conditions, take a deep breath. Remember that prevention truly is better than cure. And maybe, just maybe, pack a white umbrella. (Just hold on tight if you’re shooting near the coast!)
Because lighting isn’t just about technical perfection – it’s about creating portraits that make your clients feel like the very best version of themselves.
Want to dive deeper into mastering outdoor portrait lighting? Why not join me for…
[Call to Action about your photography training here]
Would you like me to add the call to action, or shall we refine the conclusion first?
Discover how our strobe and flash tutorials can transform your outdoor portraits.
Get in touch ➔